I don’t know about you but I have been finding it harder and harder to stay creative during COVID. Dare I say, I was actually tired of seeing peoples fb food posts. If I had to see one more pic of a loaf of bread, I was going to scream. So, I turned to my creative side for some inspiration and If you are someone like me who loves to change things up and decorate for each season, this is an easy craft to do to help freshen things up and it won’t cost you a lot either. I’m sure that you have seen this type of craft before and for me, I LOVE the idea of creating pillow designs that reflected me and my love for decorating with the seasons. Believe me when I say this craft is super easy to do and super fun too!
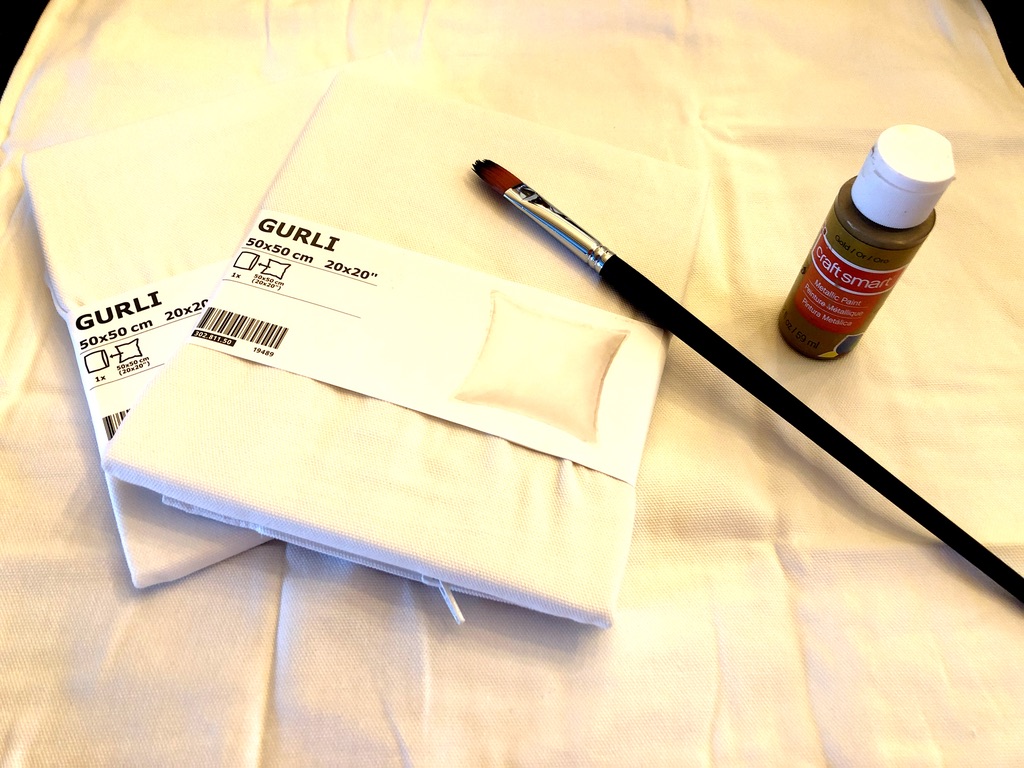
The first pillow I did was using just acrylic paint I bought at the Dollar Store and white 20×20 pillow covers I bought online at Ikea for $3.99.
Here is what you will need:
- 1 bottle of acrylic paint (I used metallic gold)
- Artist paint brush set (I picked mine up from the Dollar Store)
- 1 white pillow cover (I bought mine from Ikea called Gurli)
Here is how to make it:
- Place the pillow cover on a flat surface.
- Insert parchment paper on the inside of the pillow so that the paint doesn’t seep through to the back side of the pillow cover.
- Place a small amount of paint on a paper plate
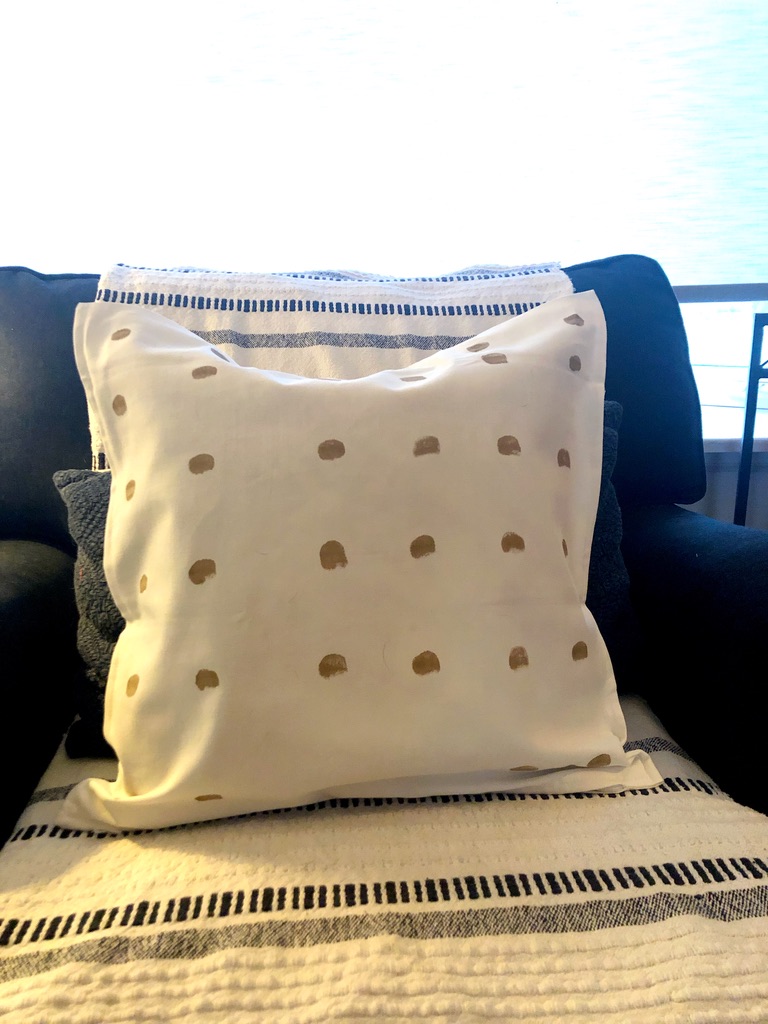
- Dip paint brush in the paint and then carefully dab the paint on the pillow in any pattern you like.
- Let dry. Then iron the pillow case. This helps adhere the paint to the pillow almost like baking it in, so when you wash the pillow the paint will stay one.

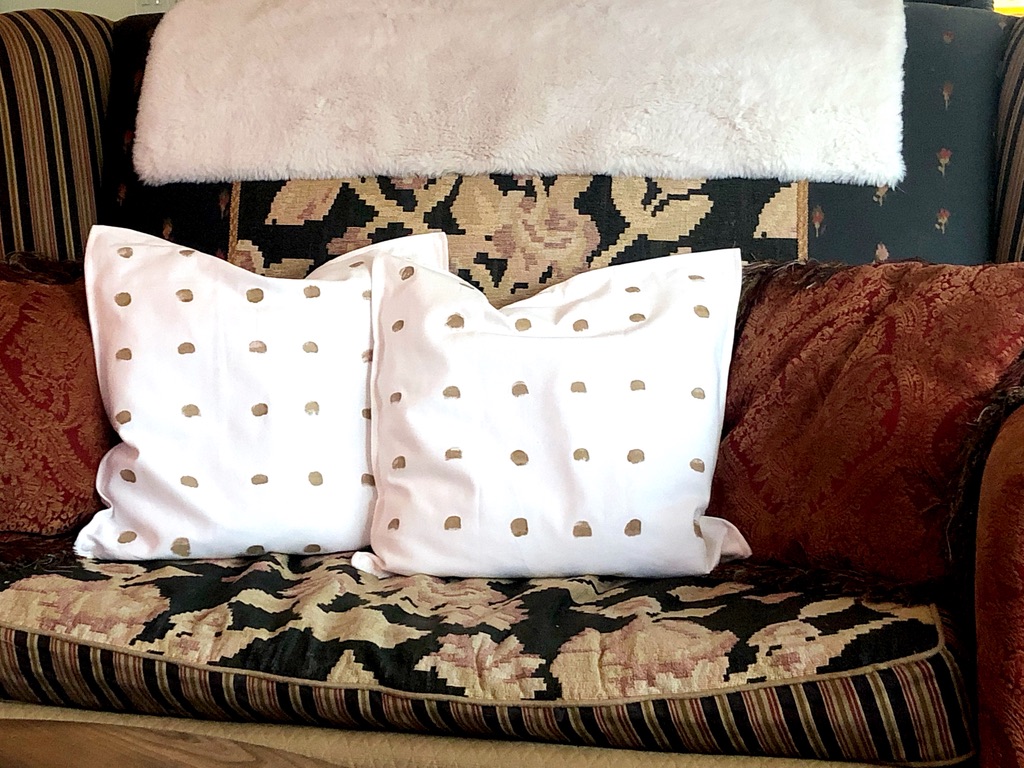
With Thanksgiving just around the corner, my next pillow creation was for my living room to decorate for the fall. Since I used gold colour for the poke-a-dot pillows I thought, I thought why not paint some pumpkins to really bring out the fall theme!
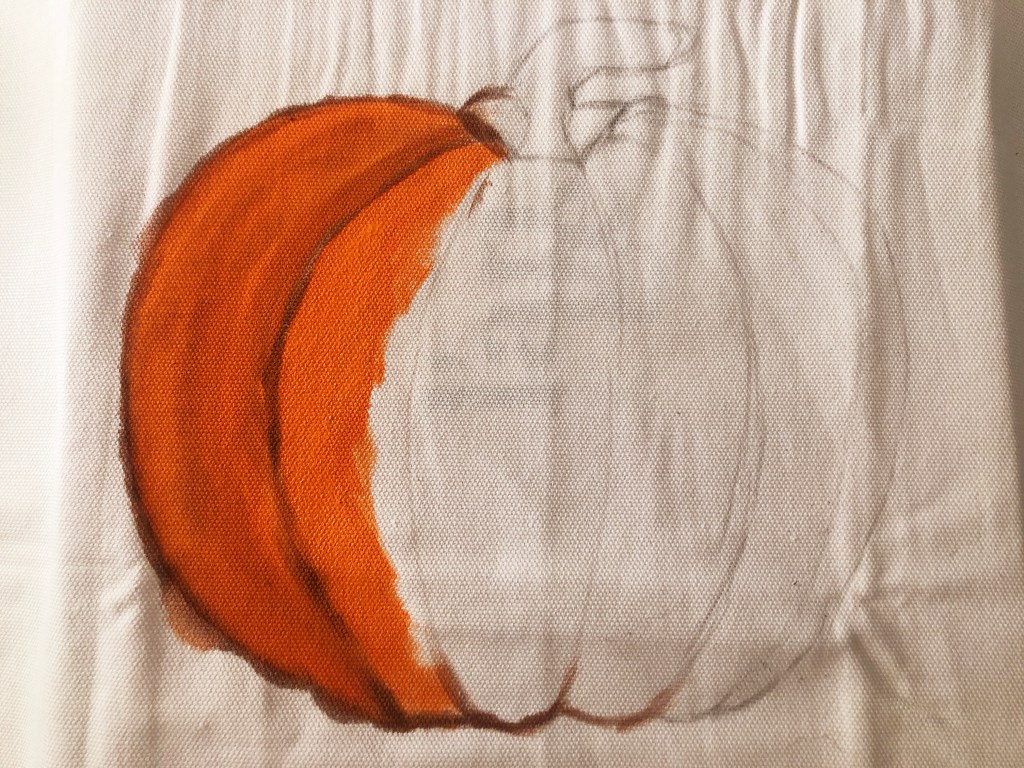
What I did was to first create a stencil that I could use to help outline my pumpkin on my pillow. I looked at different pictures of pumpkins online and found one that I liked and roughly drew it on a piece of paper. You could also print it out if you have a printer.
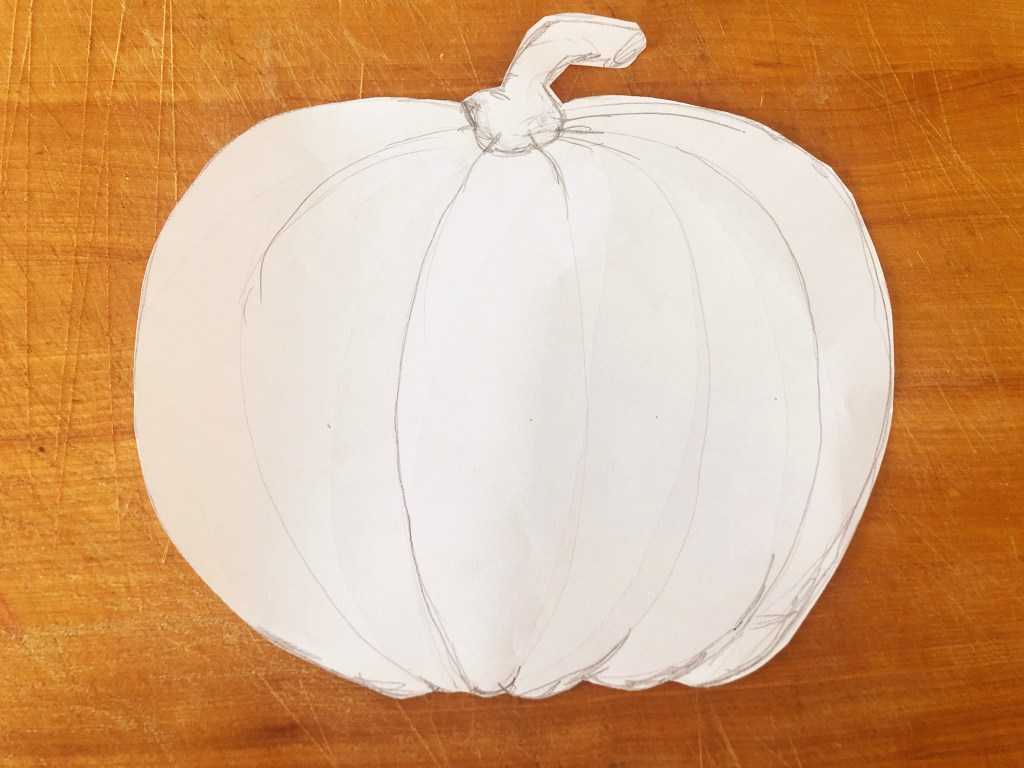
The next thing I did was cut the pumpkin out and trace the pumpkin on the pillow cover using a pencil. Once I had it traced on the pillow, I needed to decide what colours to paint the pumpkin.

I chose a traditional orange pumpkin and then thought I would do something a bit different, a bit more artistic, and did one in white and brown hues.
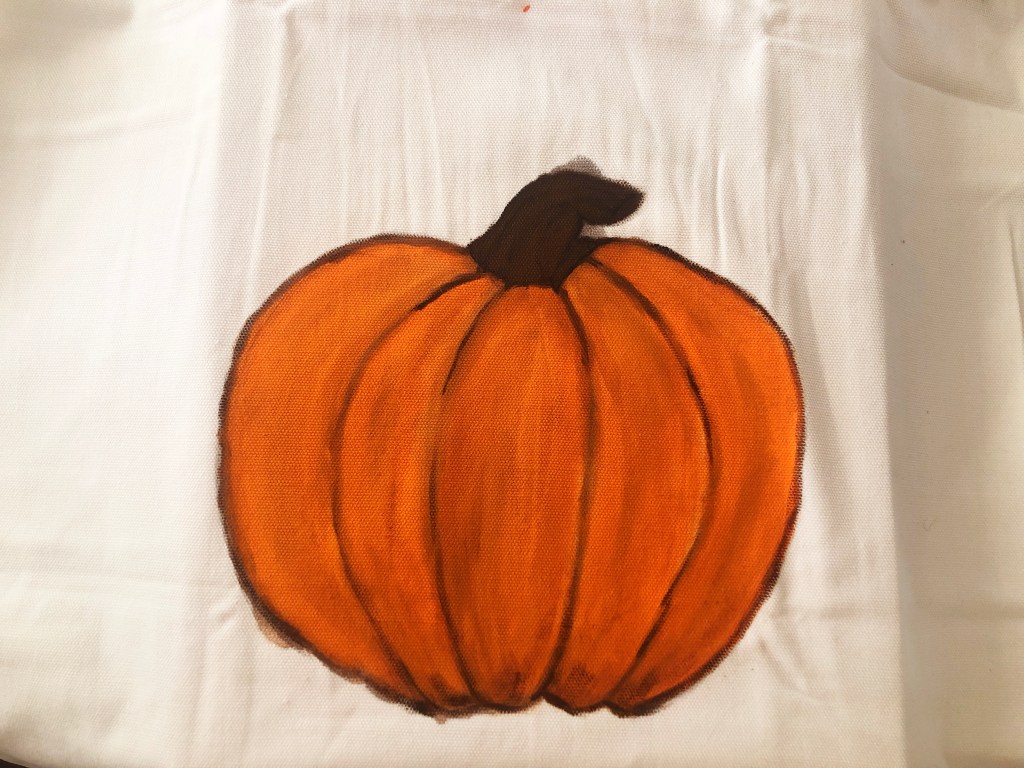
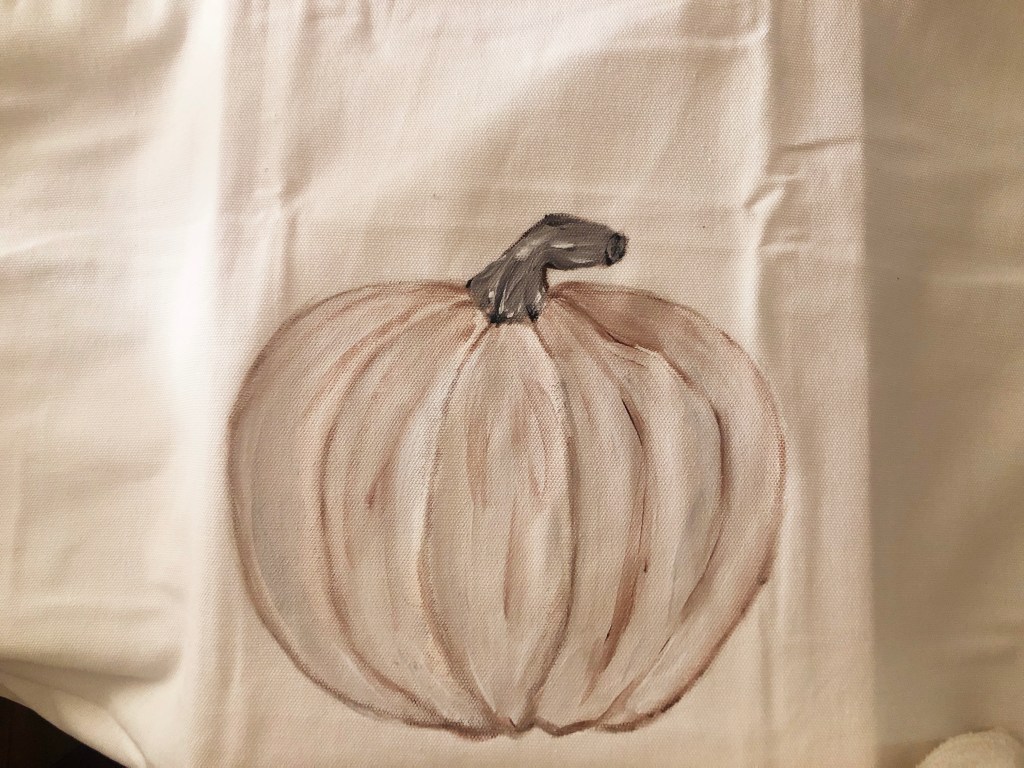
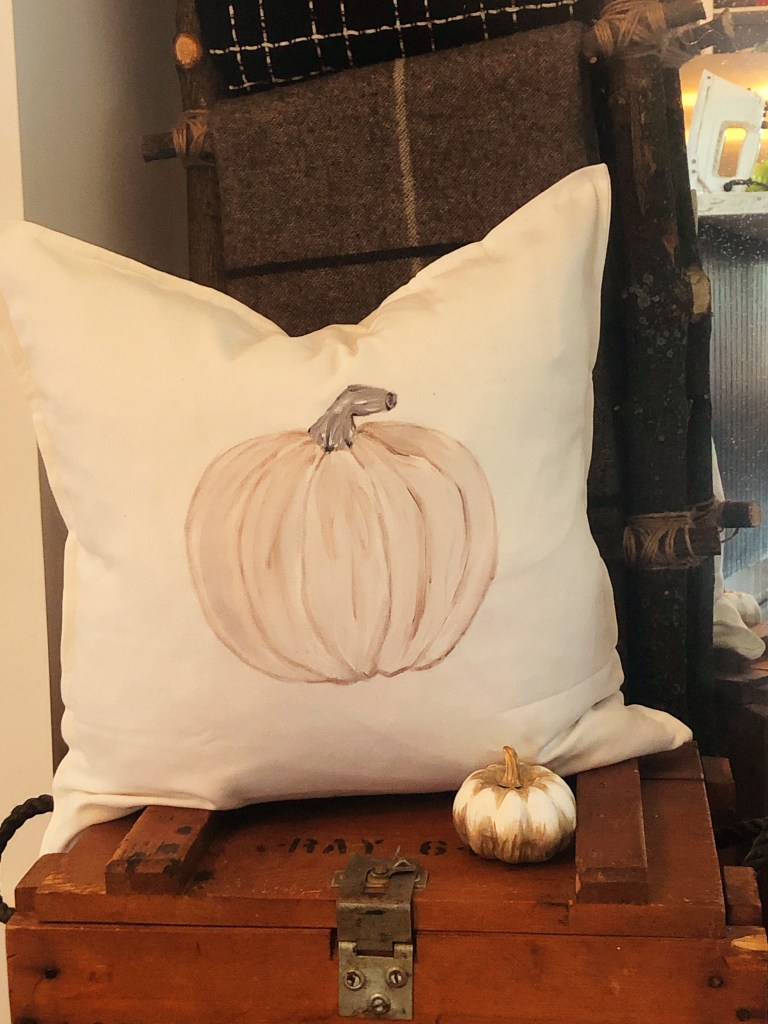
I just love the way they turned out – so quick and simple and because pumpkins aren’t perfectly shaped, my pillows didn’t have to be either.
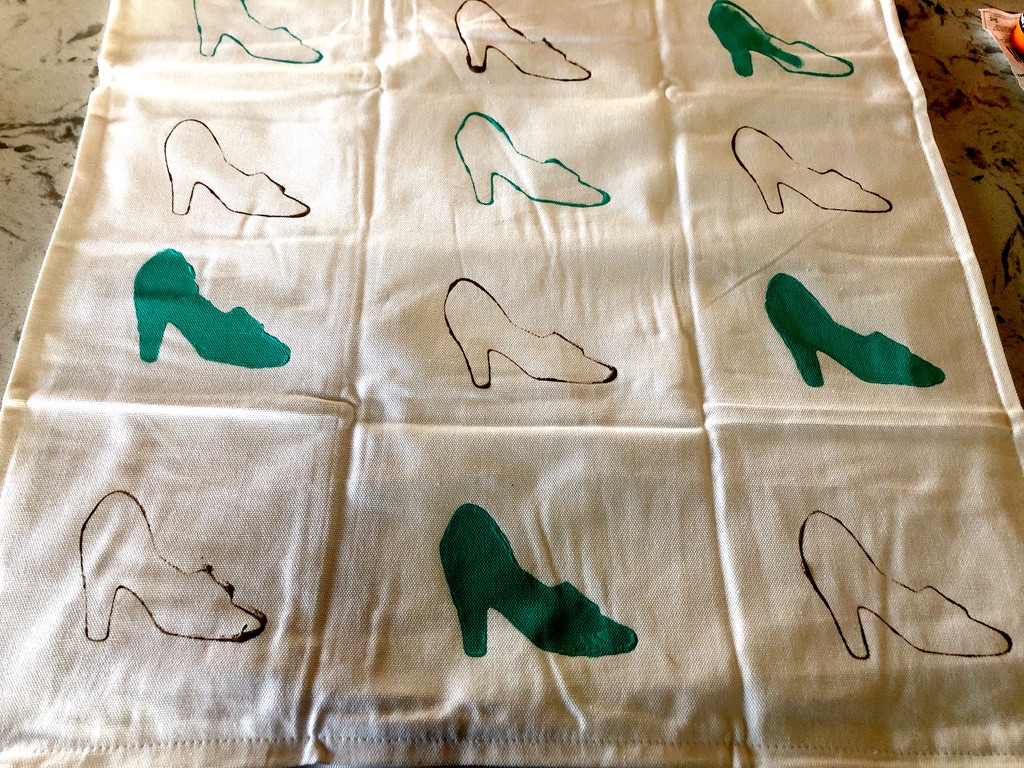
Then I thought I would try something a little different and used cookie cutters to help create the shapes for my pillow.

I hope this inspires you to be creative in your home – enjoy!


Leave a comment